Prepare your code
Login to your AWS DevOps account
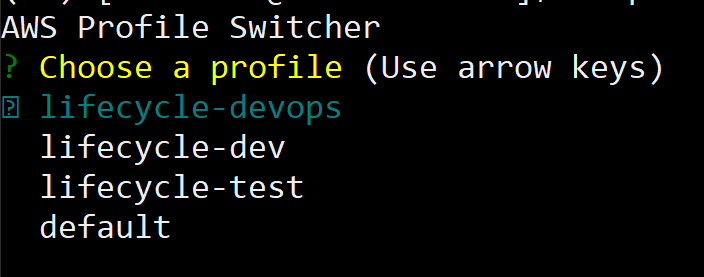
Use the recommended helper tool to switch your profile. This tutorial uses AWSP but you can substitute your own commands:
When using the Assembly-Line, you interact with AWS via your project’s associated DevOps account.
Use AWSP to select the team-shared-sandbox-devops account
awsp
- Perform AWS login. Note that a browser tab will open to complete this process and should automatically copy the code from the terminal and enter it into the browser. You will be required to authorize the request by clicking the “Allow” button.
aws sso login
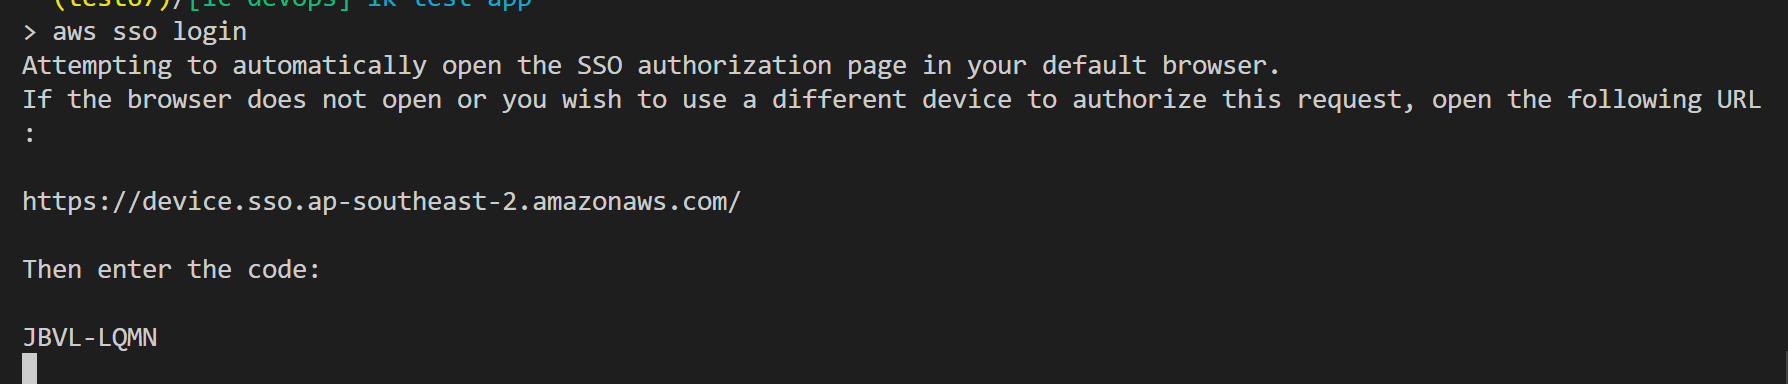
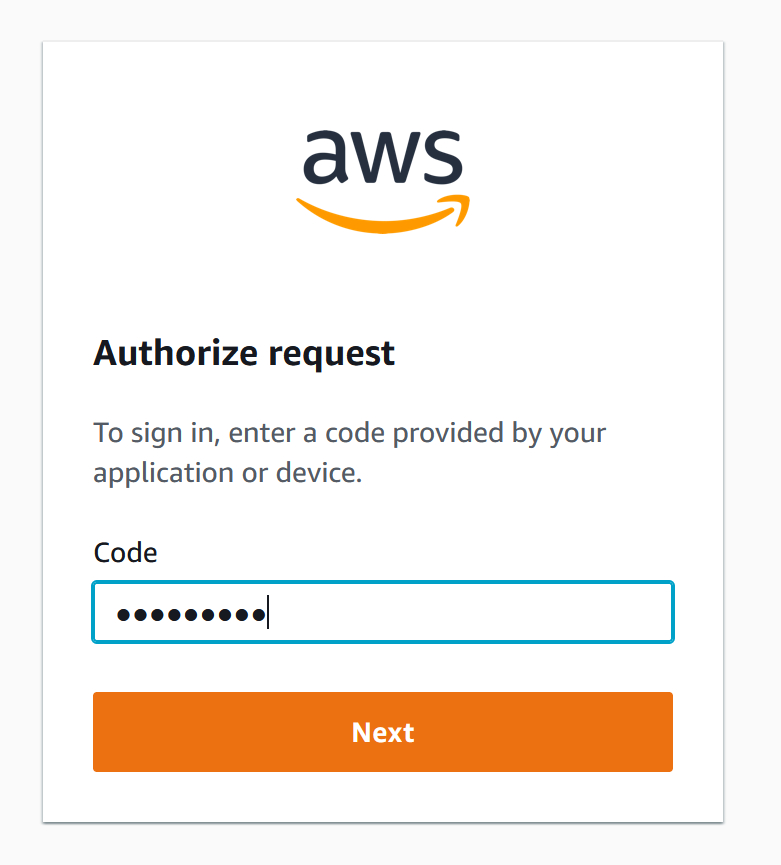
You will need to copy/paste the above link into your browser where you are logged in using the account associated with your AWS console access. If you are using Firefox containers, login configuration is isolated for each container, so make sure you are pasting the link into the appropriate container.
If you have configured your environment manually, you might want to add the following to your ~/.bashrc file so that Firefox opens automatically.
export BROWSER='/mnt/c/Program Files/Mozilla Firefox/firefox.exe'`
adjusting your Firefox installation path as required.
Now you should be logged in to your devops hub. You can validate this using the following command:
aws sts get-caller-identity
You should see something like this: 
Run the following command in the WSL terminal session to login to the Assembly-Line CodeArtifact repository. This step will allow you to install Assembly Line tools and node packages (documented in the Curtin Construct Hub), since those are stored in a private repository.
aws codeartifact login --tool npm --repository <team-shared-sandbox-repo> --domain curtin --domain-owner 791226210878 --namespace assembly-line
HINT: The value for your team-shared-sandbox-repo is found in parameter store parameter /developer/codeartifact/DevOpsRepoName. Access it using the cli with command: aws ssm get-parameter –name /developer/codeartifact/DevOpsRepoName –query ‘Parameter.Value’ –output text
Step 1: Create Bitbucket Repository
Before running Copier, create an empty repository in Bitbucket:
- Go to Bitbucket and create a new repository for your training project
- Note down your workspace name and repository name
- Do NOT initialize the repository with any files (keep it completely empty)
Step 2: Clone Your Empty Repository
Open your terminal or VSCode and clone the empty repository:
git clone git@bitbucket.org/your-workspace/your-repository-name.git
cd your-repository-name
Replace your-workspace and your-repository-name with your actual Bitbucket workspace and repository names.
Step 3: Install Copier (if needed)
Prerequisites: Install uv
If you don’t have uv installed, install it first based on your operating system:
Mac:
brew install uv
Linux/WSL:
curl -LsSf https://astral.sh/uv/install.sh | sh
Windows:
powershell -ExecutionPolicy ByPass -c "irm https://astral.sh/uv/install.ps1 | iex"
Install Copier
you haven’t installed Copier yet, install it globally:
uv tool install copier
NOTE: If you are returning to this training, update to the latest version of Copier (npm update -g copier)
Step 4: Run Copier to Generate Template
From inside your cloned repository directory, run Copier with the dot (.) to generate the template in the current directory:
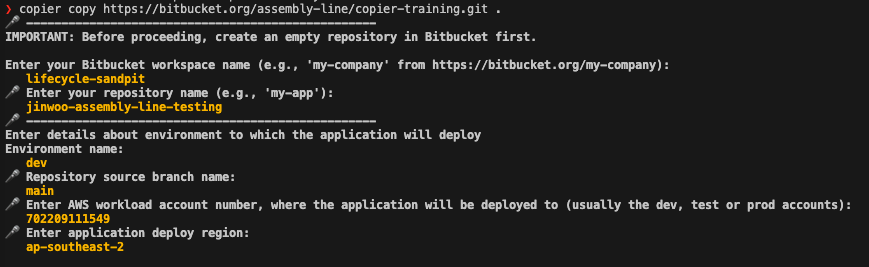
copier copy git@bitbucket.org:assembly-line/copier-training.git .
Copier User Prompts
Copier will ask you several questions to customize your Assembly Line Training project:
- Bitbucket workspace name: Enter your Bitbucket workspace (e.g., ’lifecycle-sandpit’ from https://bitbucket.org/lifecycle-sandpit)
- Repository name: Enter your repository name (e.g., ‘my-assembly-line-training’)
- Environment name: Your application will potentially be deployed to different environments (i.e. prod, test, dev etc). We will enter dev for these training sessions.
- Repository source branch name: Enter the code source branch for the currently configured environment here. We will enter main for these training sessions.
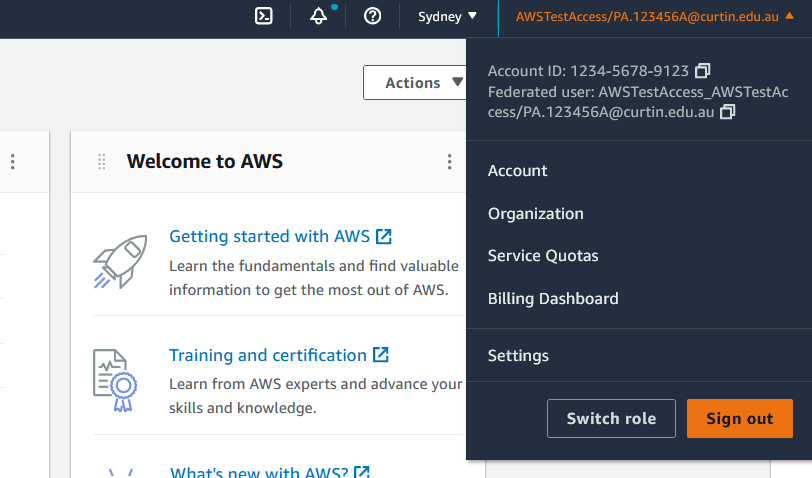
- AWS workload account number: Enter the workload account number where the application will be deployed to (Not the devops account). The account number can be found in AWS console. If you are doing your training in the team-shared-sandbox accounts, the account id will be found at the top right when you select your login access id:
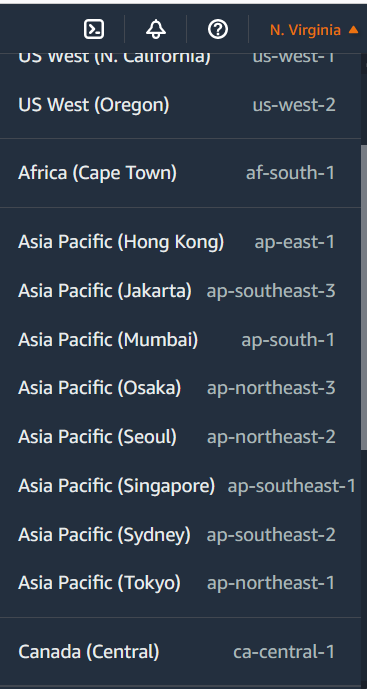
- Application deploy region: Specify the region to which the application will be deployed. This part defaults to Sydney (ap-southeast-2), but can be given any deploy region. A list of regions can be seen in AWS console (top right corner). Use ap-southeast-2 for these lessons
IMPORTANT: When Copier asks about overwriting files, make sure to overwrite .gitignore when prompted.
Step 5: Commit and Push Your Generated Code
After Copier generates your project template, commit and push the changes:
awsp  # Select your DevOps account
aws sso login
npm run locallogin
npm install
npm run build
git add .
git commit -m "Initial project setup using Copier template"
git push
Setup Complete
Your Assembly Line training project is now set up and pushed to Bitbucket. You’re ready to proceed with the next steps of the training.
NOTE: Additional environments can be added by editing [Project Root]/cdk/glf-config.yml after the project has been generated