Deploy your pipeline
AWS CLI Login
If you have restarted your terminal session since previous lesson or it has been more than 12 hours since your last AWS login, you will need to perform the login procedure again:
This tutorial uses AWSP but you can substitute your own commands:
Authenticate to using your DevOps Hub account credentials
Use AWSP to select the team-shared-sandbox-devops account:
awsp
Perform AWS login. Note that a browser tab will open to complete this process. Copy the code from the terminal and enter it into the browser:
aws sso login
“aws sso login” may open a browser window to authorise your login. If you do not log in to the AWS console with your default browser, you may need to stop the loading of the browser window and copy and paste the link into the browser where you do log in to AWS.
Now you should be logged in to your devops hub. You can validate this using the following command:
aws sts get-caller-identity
You will see a similar output
Deploying the CDK Project
Verify Node JS version and run artifact login
To ensure node and npm are installed and match the following versions:
node -v && npm -v
node : v22.x.x
npm : 10.9.x
Configure NPM by logging into Artifact Repository in the SharedServices account for the assembly-line and the Artifact Repository in your project’s DevOps account
npm run locallogin
Check for missing and older npm libraries
Check for missing or older libraries:
npm outdated this will report missing in newly checked out projects
npm install
Below commands are required to run when: Changes are made to version in package.json Package-lock.json version is behind the wanted version displayed by npm outdated
npm install
npm update
Push your code to your remote repository
git add -A
git commit -m "chore: initial commit"
git push --set-upstream origin dev
You may be asked for a Bitbucket password here - use the Bitbucket App Password that you created in Lesson 1
Building your project locally
Push any changes to the remote repository prior to deployment
npm run build will perform a build of your project locally, it can be used to test your project for code errors.
npm run test performs unit testing and confirm coverage is acceptable
npx cdk synth generate will output the Cloudformation templates based on the CDK source code and place it in a temporary ‘cdk.out’ directory
Deploying the Pipeline stack to the hub account
We first need to identify which stack represents the pipeline stack. Execute npx cdk list, which wil list the pipeline stack name, as well as the two workload stacks. We want to deploy the pipeline stack only (the one that does not mention backend or frontend):

npx cdk deploy [YOUR PIPELINE STACK NAME] will deploy the project and is only required to be run once in the beginning as the pipeline has a SelfMutate step which ensures it is updated with the latest changes (a git push will now rebuild your project):
Review changes and select ‘y’ if ok to proceed. Use the repository as normal.
Make a note of your stack name
Assuming your pipeline stack deploys with no errors, you will see the name of the stack in the console.

At this stage, you will have a code pipeline in team-shared-sandbox-devops account. Follow the steps below to find your pipeline and observe the build. While you wait for the build to complete, explore the files in your project directory.
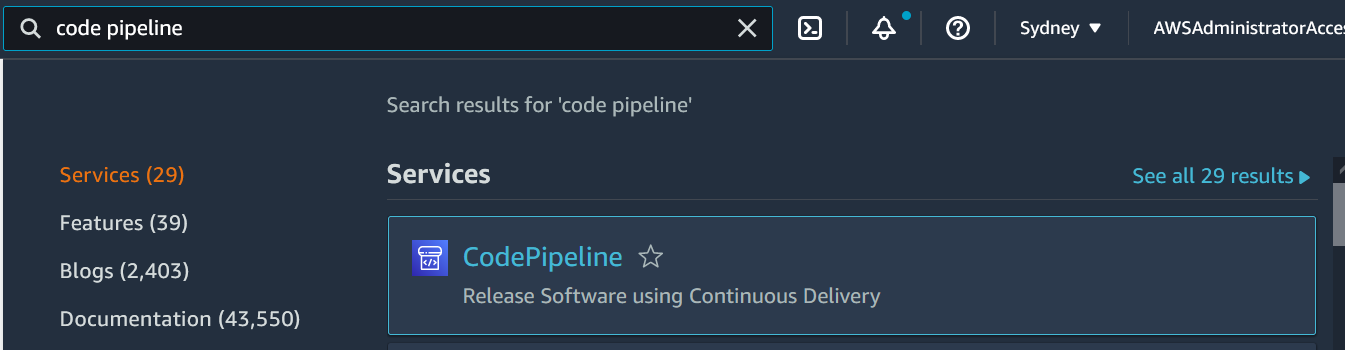
Locate CodePipeline in AWS Console
CodePipeline can be found by searching through the services in the management console.
Locate your Project
Locate your project name to view its current status. The pipeline status will change to building every time a change is pushed to the Bitbucket repo.

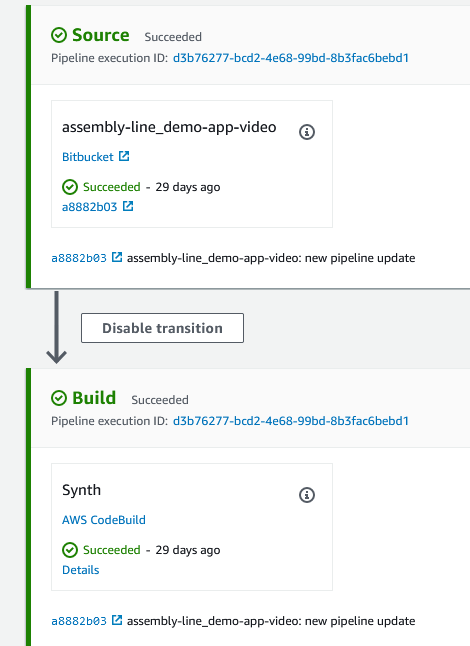
View further information about current build status
Click on the application to view current stages of the pipeline and identify where errors may have occurred.
Once your pipeline is complete, view your application.
Note - use firefox containers to be able to log in to both the devops and workload accounts at the same time
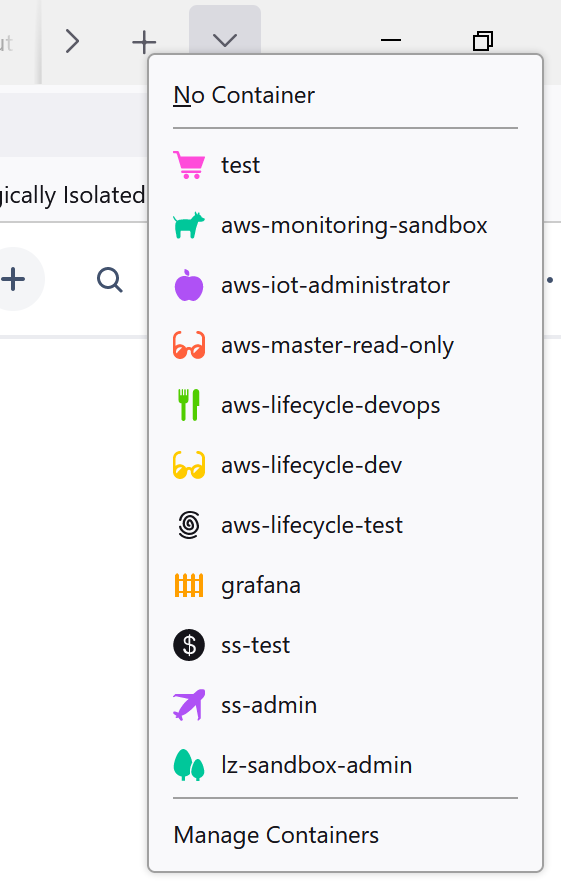
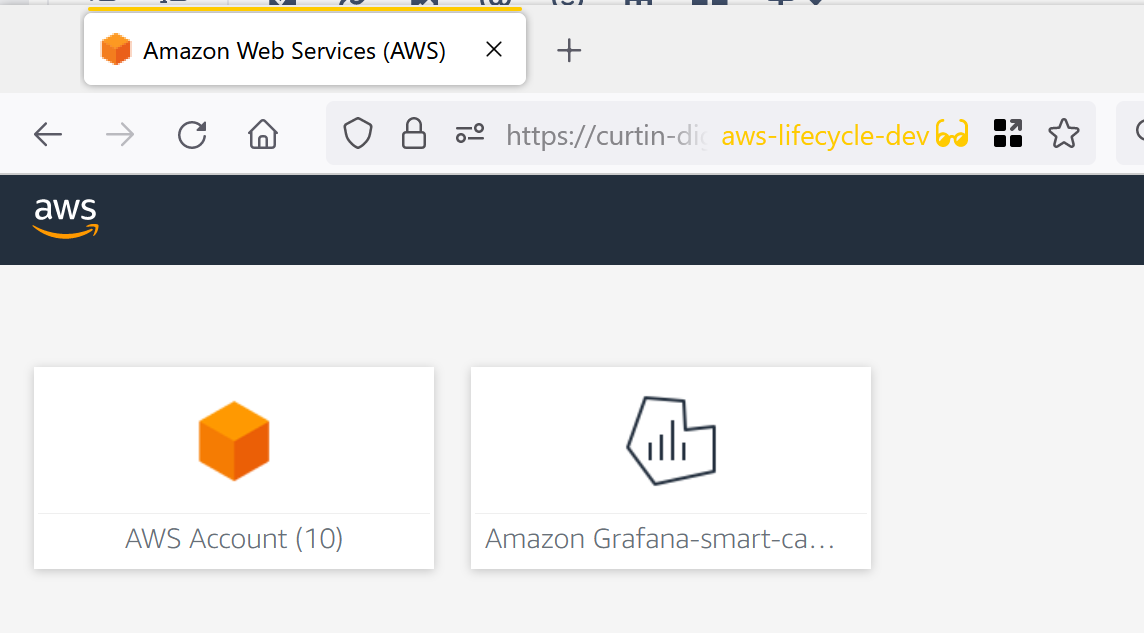 Log into the workload account. For this part, it is your teams-shared-sandbox-dev account.
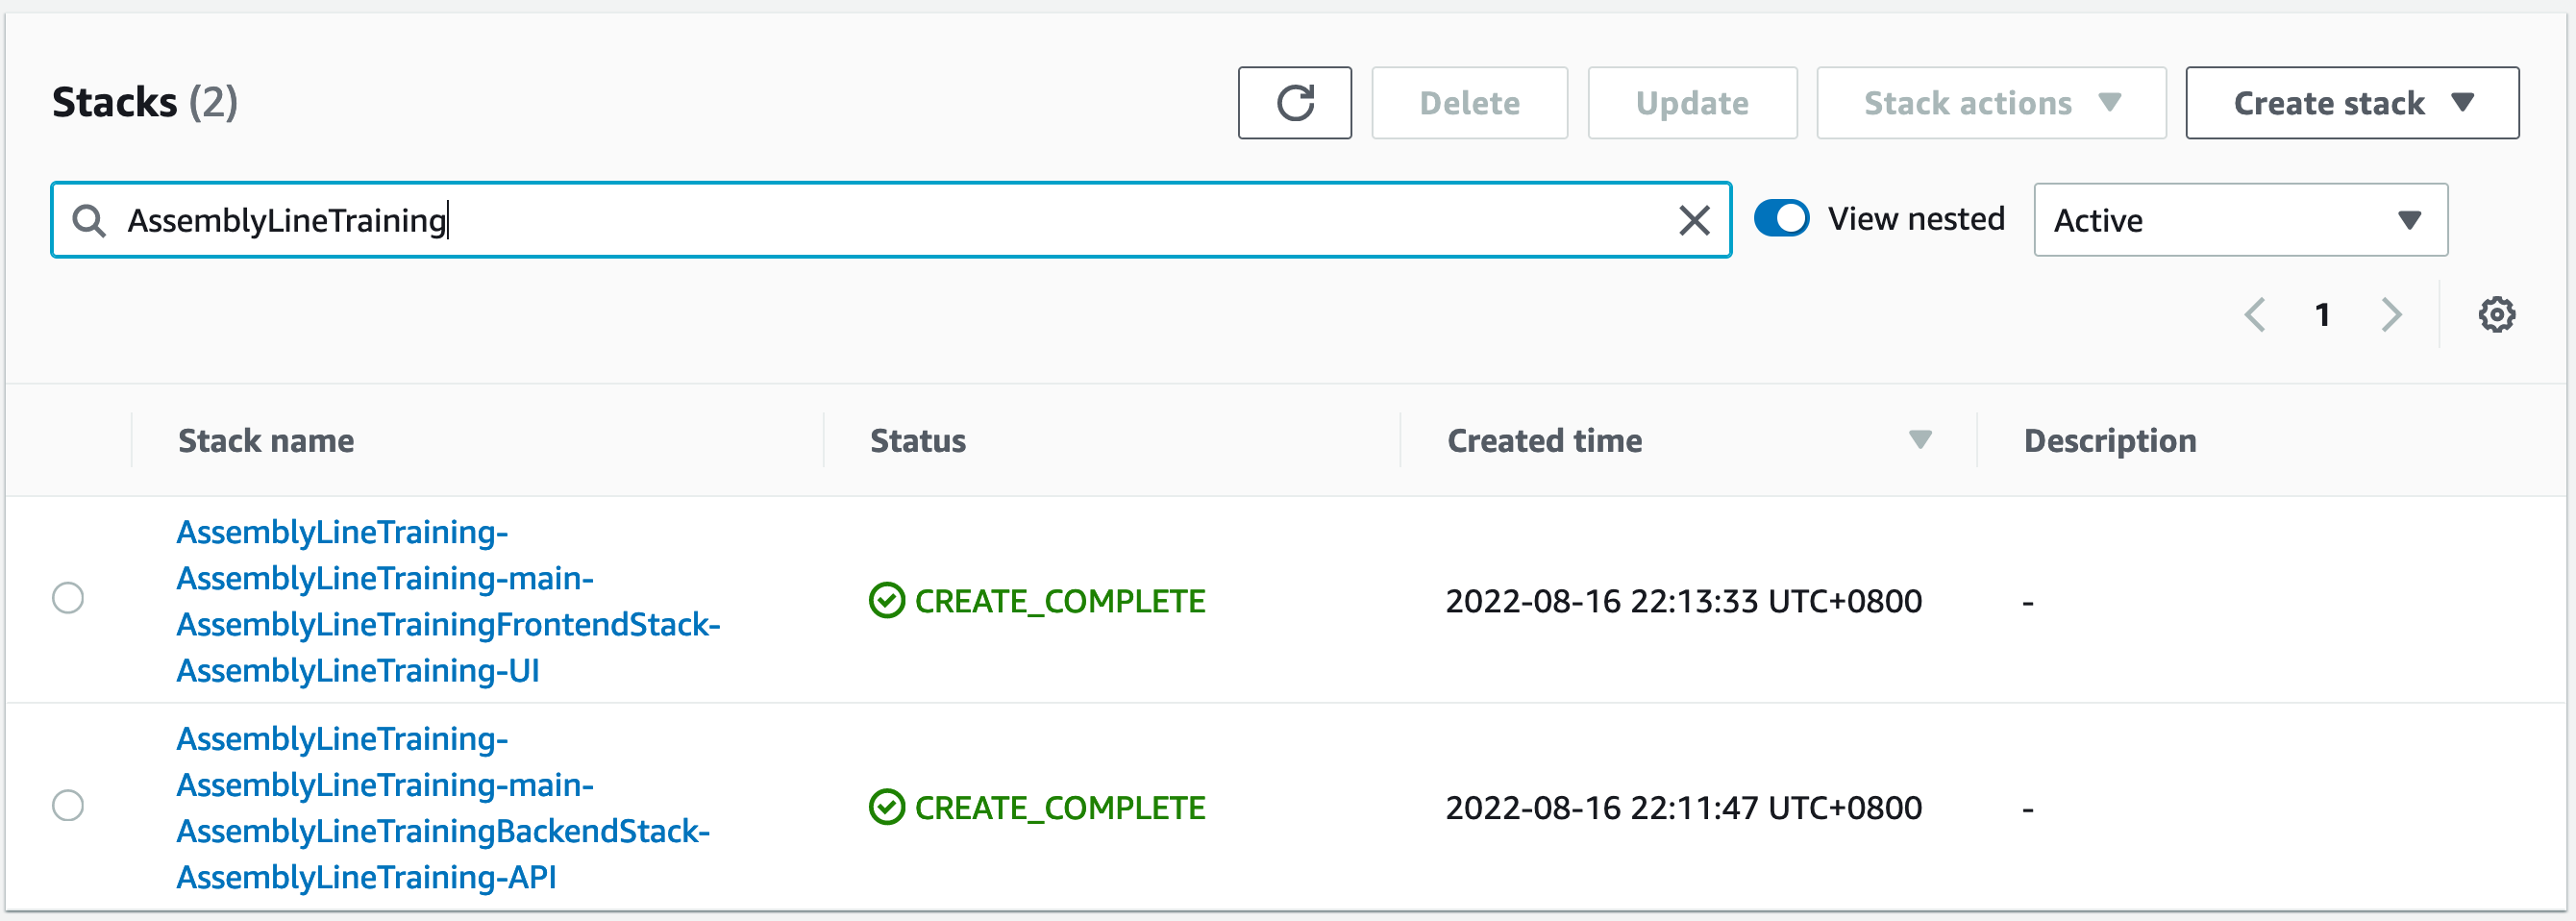
Find your application stack in Cloudformation
Find the Cloudformation service page and navigate to the Stacks section.
Using the portion of the stack name from step 6 above, search for all stacks for your application. You should see two stacks, a front end and a back end stack. If both stacks are not present, your pipeline may not have completed running, or you may have had an error.
Explore your stacks
Click on your stacks, view the events, resources, outputs and templates tabs. The backend stack of your application will have a DynamoDB table deployed. You will be able to see the table in AWS DynamoDb Console. The name of the table will feature the name of your application.
