4: Add the single page app construct
Adding the Single Page WebApp Construct
You should now have a pipeline in the devops account, your codebase in your bit bucket repo, and two empty stacks in your workload accounts. You are ready for application development!
We will now use an Assembly Line construct to create a webpage. By using this construct, you will add all the components you need for your application’s front end with only a few lines of code. See the documentation for this construct here - @assebmly-line/web-app-frontend
Edit the frontend file
In your project directory open the file ./cdk/lib/‘yourprojectname’-frontend-stack.ts
Insert the following lines after line 8 (after the line that starts with “super” but before the closing curly braces)
Replace every occurrence of YOURPROJECTNAME with your project’s name.
NOTE: you might see some formatting errors but go ahead with the lesson. We are expecting some errors to occur as part of this lesson
    new WebAppFrontEnd(this, 'YOURPROJECTNAME-UI', {
      appConfig: {
        appName: 'YOURPROJECTNAME',
        envName: 'dev'
      },
      webAppSource: Source.asset(join(__dirname, '../../applications/frontend'))
    });
Save the file.
Create your index.html
On line 6 in step 1, you have directed your application to look in a directory named ‘frontend’ for the frontend code. Inside the applications directory of your project, create a directory named frontend, and place create the index.html inside that directory:
mkdir applications/frontend
touch applications/frontend/index.html
Edit the file ./applications/frontend/index.html
<html><h1>Hello World!</h1></html>
Commit the code to your repo
git add -A
git commit -m "feat: adding the front end construct"
git push
Check your CodePipeline execution
In your teams-shared-sandbox-devops account, navigate to CodePipeline and select your pipeline
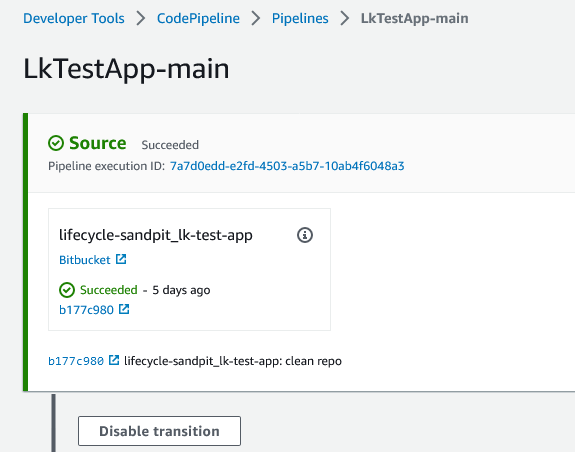
Something has gone wrong
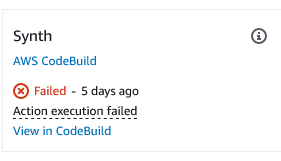
Your pipeline has failed! Locate the component that has failed and click on “View in CodeBuild”. Observe the build output:
 We forgot to tell the application where to find the constructs you are using.
Edit the frontend file again
In your project directory open the file ./cdk/lib/‘yourprojectname’-frontend-stack.ts
Insert the following lines at the top of the file, together with other import statements.
import { Source } from 'aws-cdk-lib/aws-s3-deployment';
import { join } from 'path';
import { WebAppFrontEnd } from '@assembly-line-experiences/web-app-front-end';
Save the file
Install the experiences construct library
npm add @assembly-line-experiences/web-app-front-end
Commit the code to your repo (again)
git add -A
git commit -m "fix: adding missing imports"
git push
Monitor your build pipeline (again)

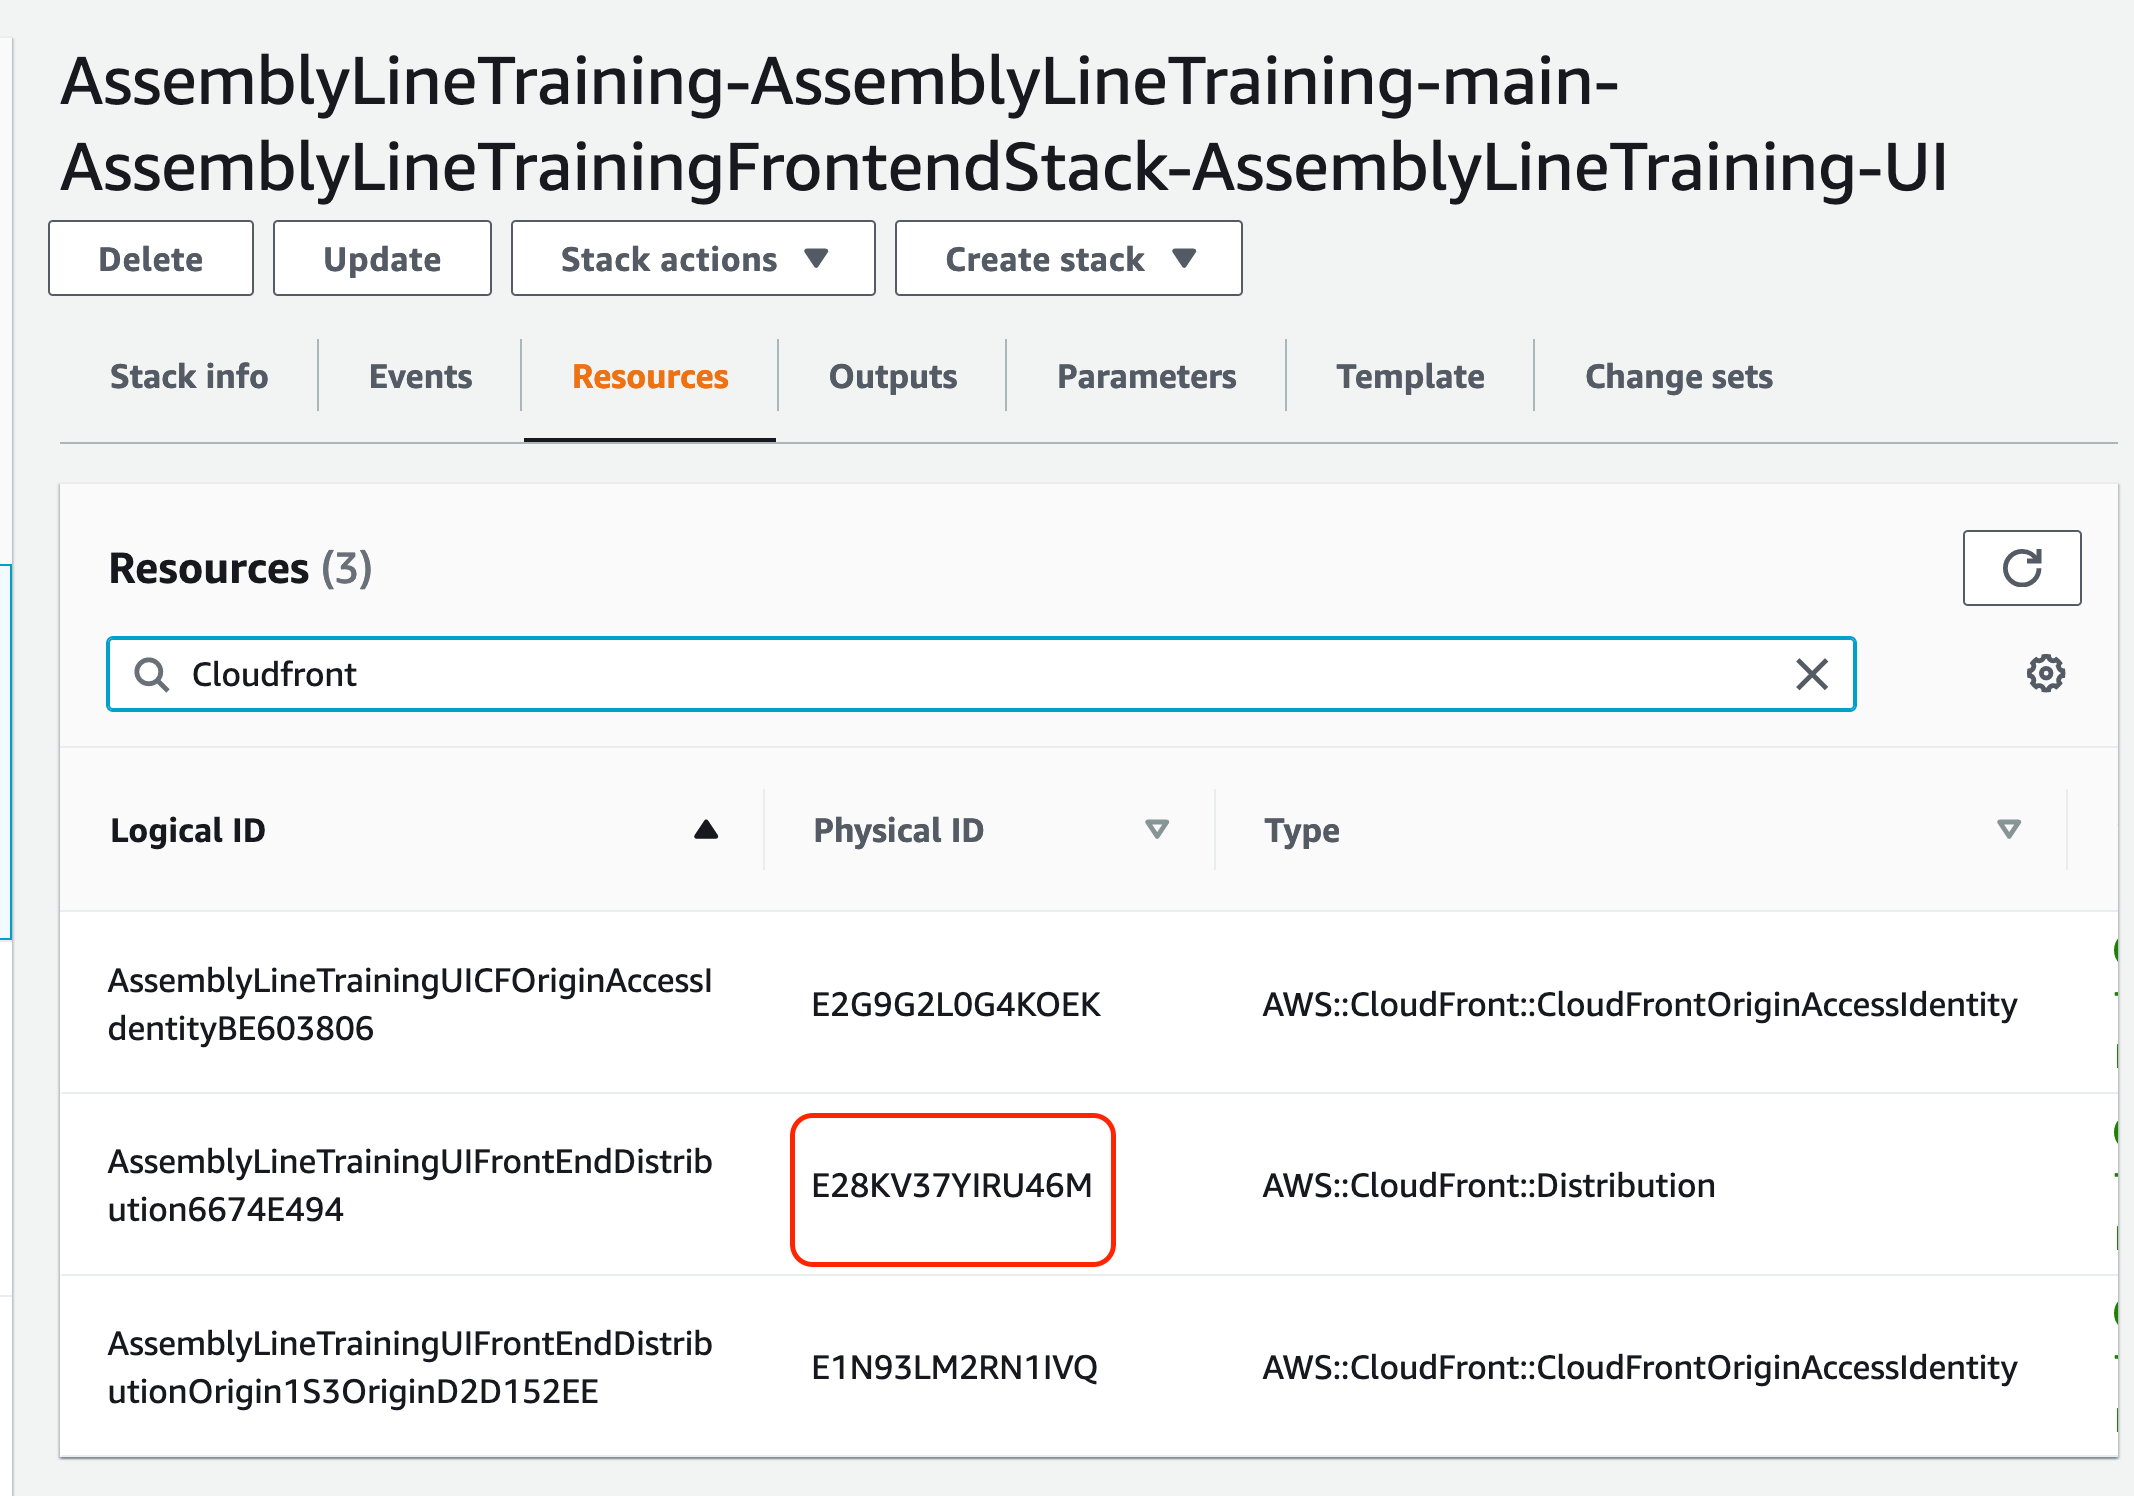
Find the name of your cloudfront distribution
In the workload account (your team-shared-sandbox-dev), locate your frontend stack. Look through the resources for the name of your cloudfront distribution:
Still in the workload account, navigate to the Cloudfront service. Search for your cloudfront distribution, then copy the domain name:
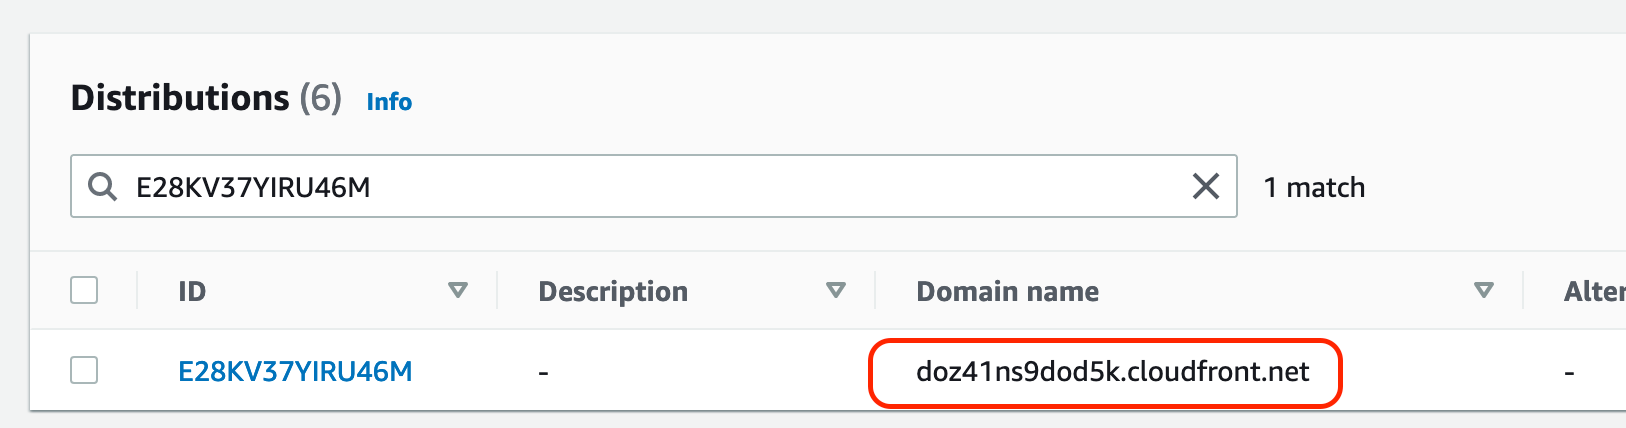
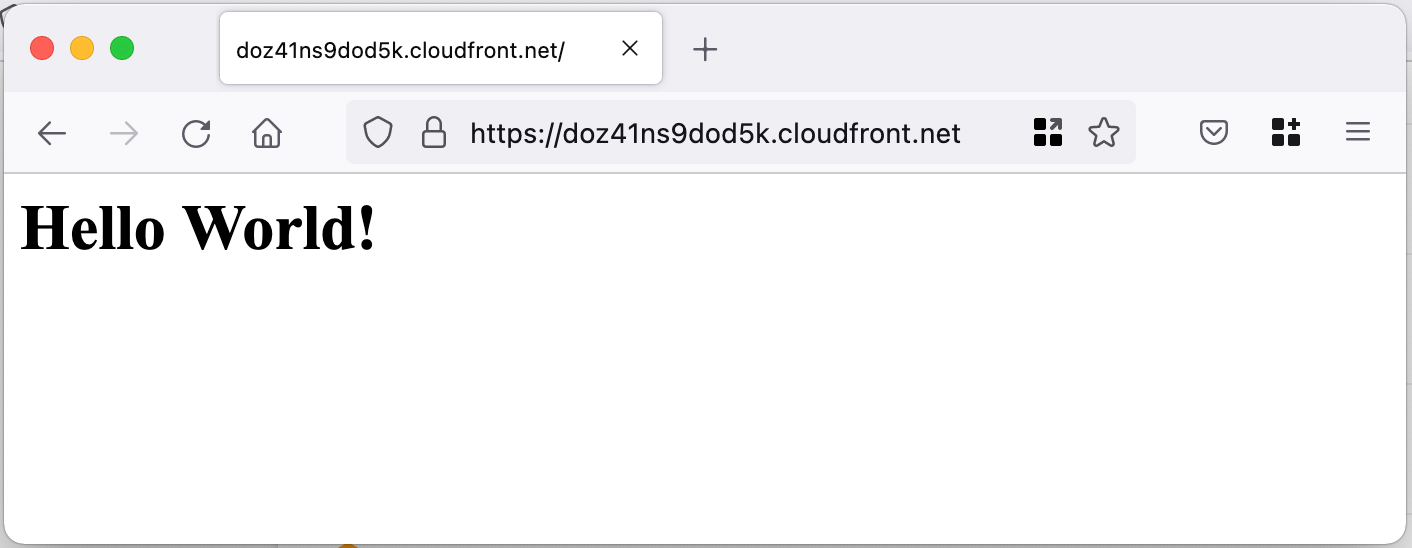
Browse to this domain name and see your webpage
Help & Troubleshooting
Problem 1
Errors/warnings appear during cdk synth step that are related to security. CDK Nag is mentioned
Solution
This is due to a component called CDK Nag. It checks your project for best development practices and it is generally a good idea to enable it. Generally, it is a good practice to understand the cause of these errors and configure the construts to resolve them.
For now, disable it in order to reduce training complexity. Open cdk/glf-config.yaml using your preferred code editor and locate the following item:
Nag: false
Run npx cdk synth from the root of your project to rebuild it.